Buzzer Buttons
Mar 11, 2022
By Drew
I learned recently that it's very fun to make up your own Jeopardy boards, and just as fun to make your friends play through them! I would highly recommend trying this if you're in the market for a fun wholesome activity.
It is also very easy to make the boards; I quickly found a PowerPoint template online to download and then filled it in with all sorts of nonsense and stupidly niche trivia. And to keep score, I just threw together a sheet in excel. But, what do you do to determine who buzzes in first??
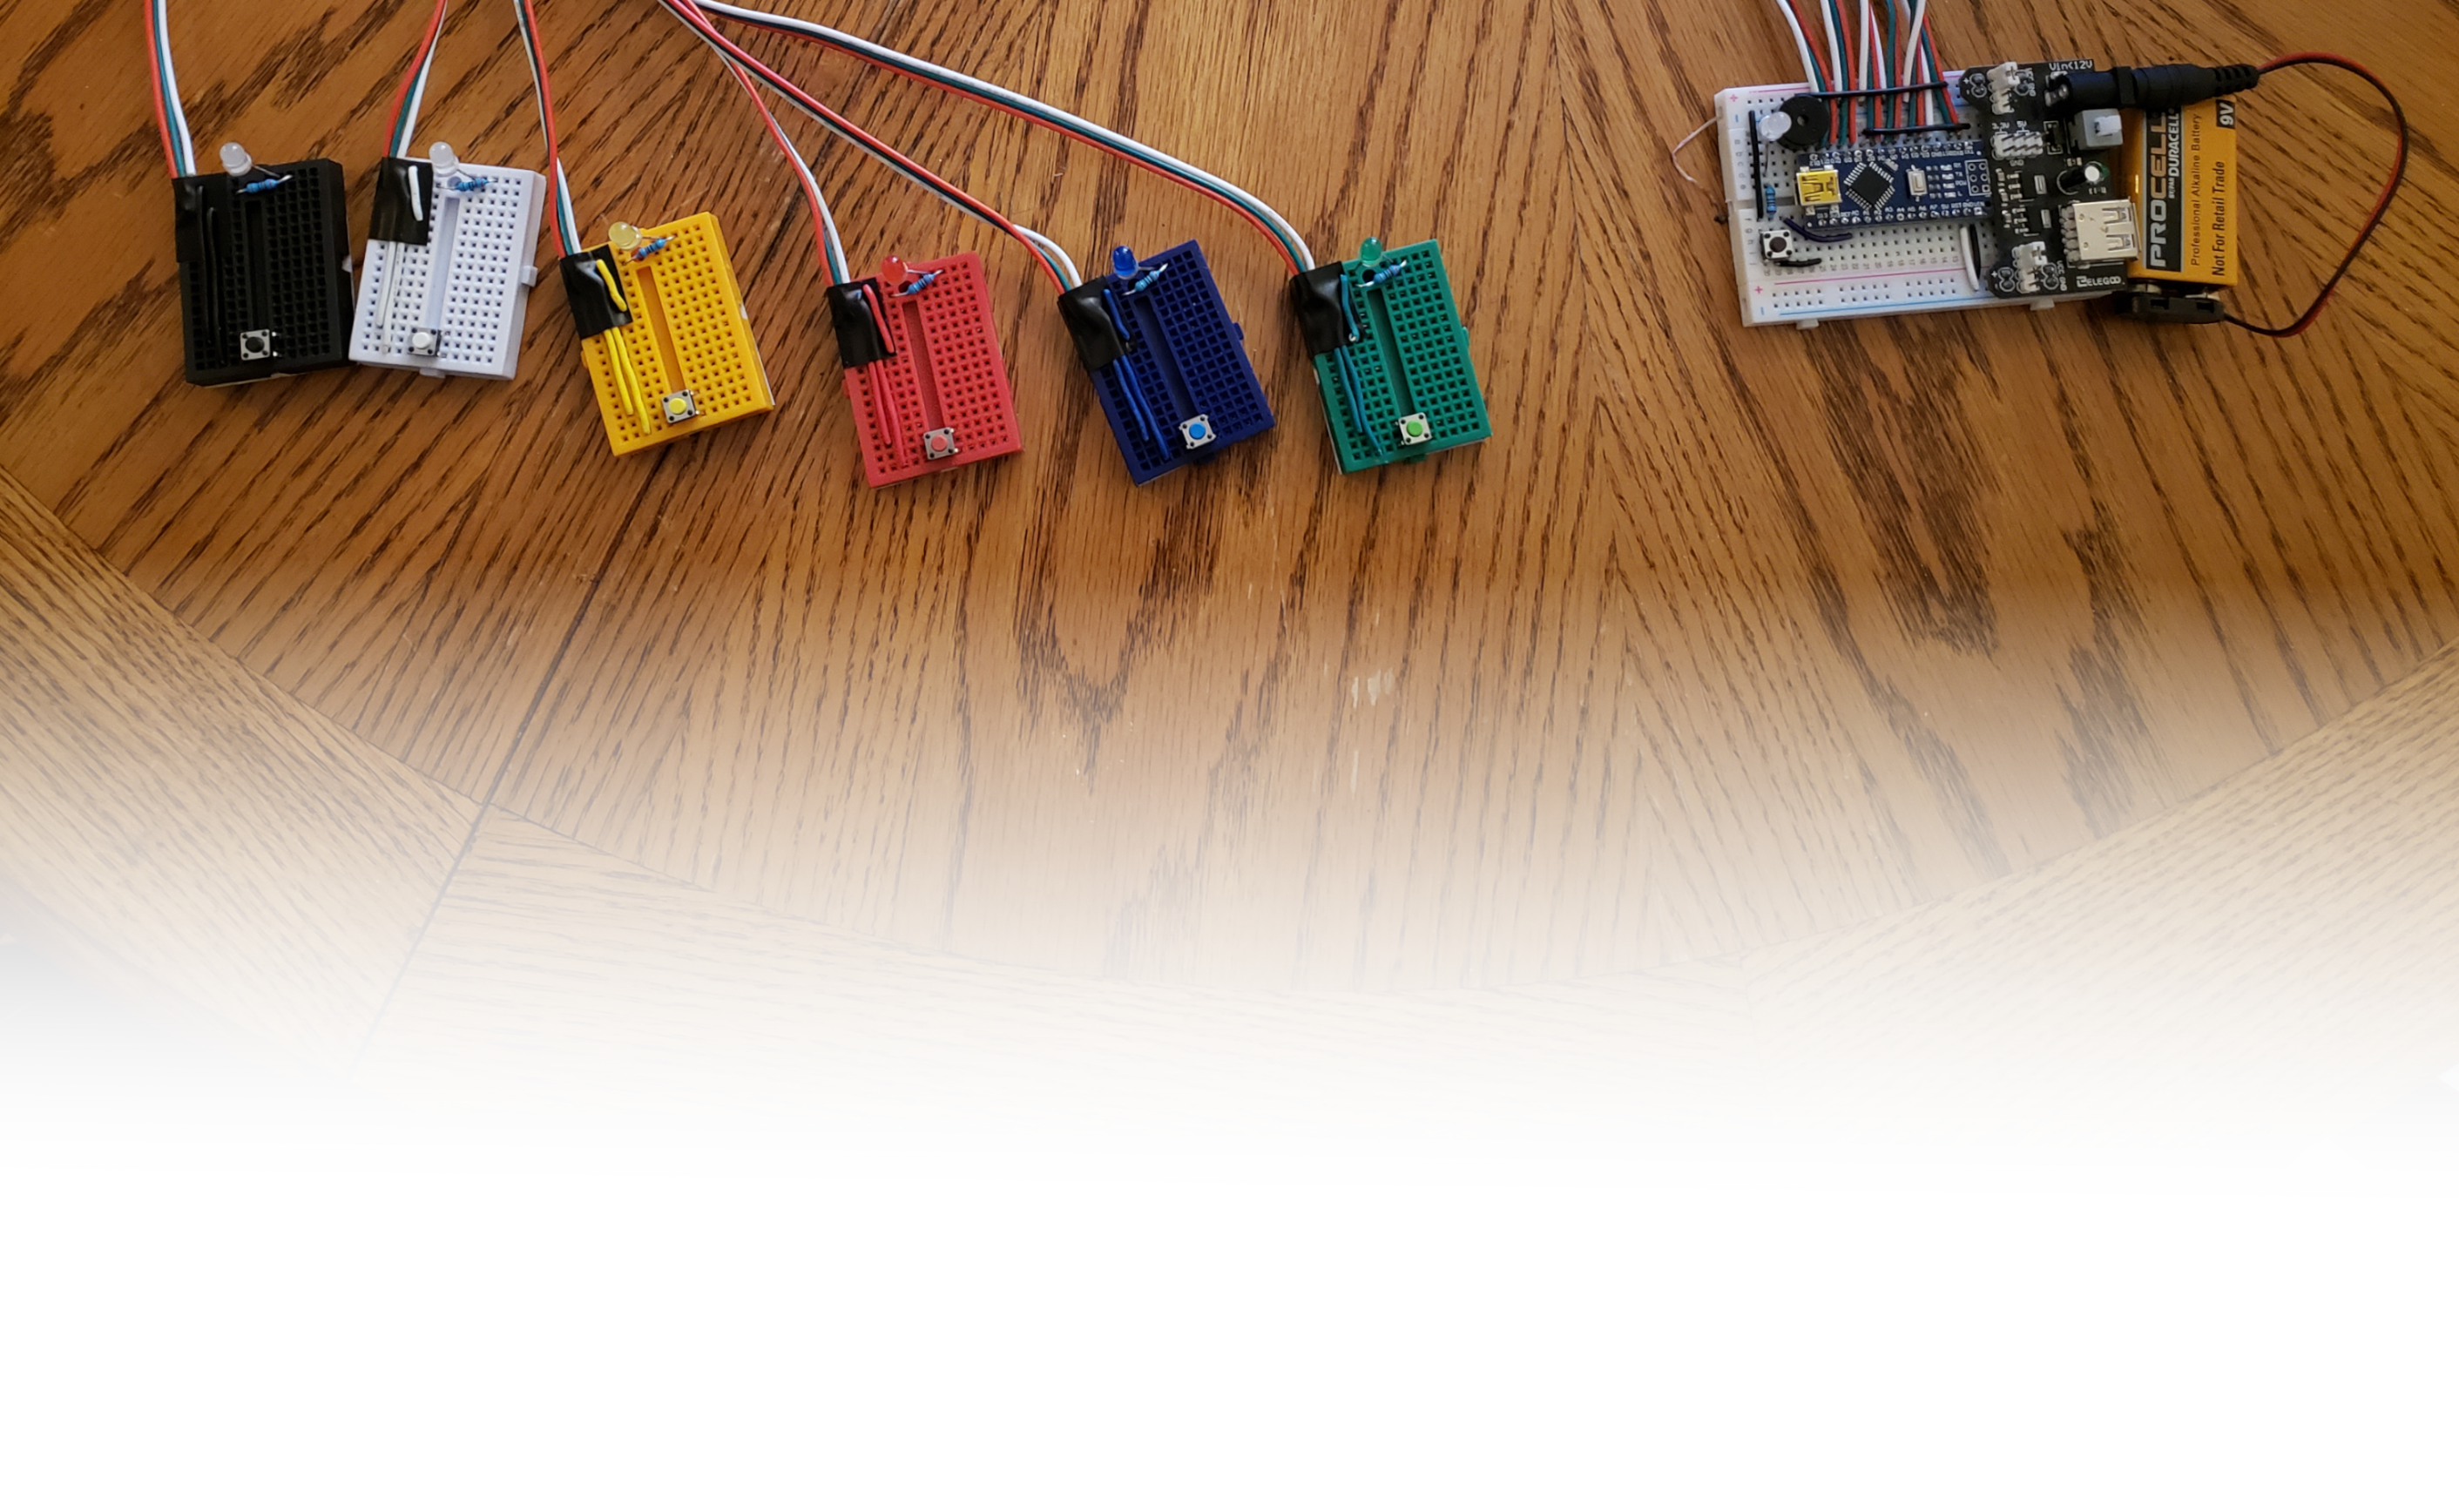
These buttons weren’t really made out of necessity, but because I wanted to and already had pretty much everything I needed to do so. And I recently got a bunch of colorful solid wires for breadboard/prototyping stuff that I was eager to play with!
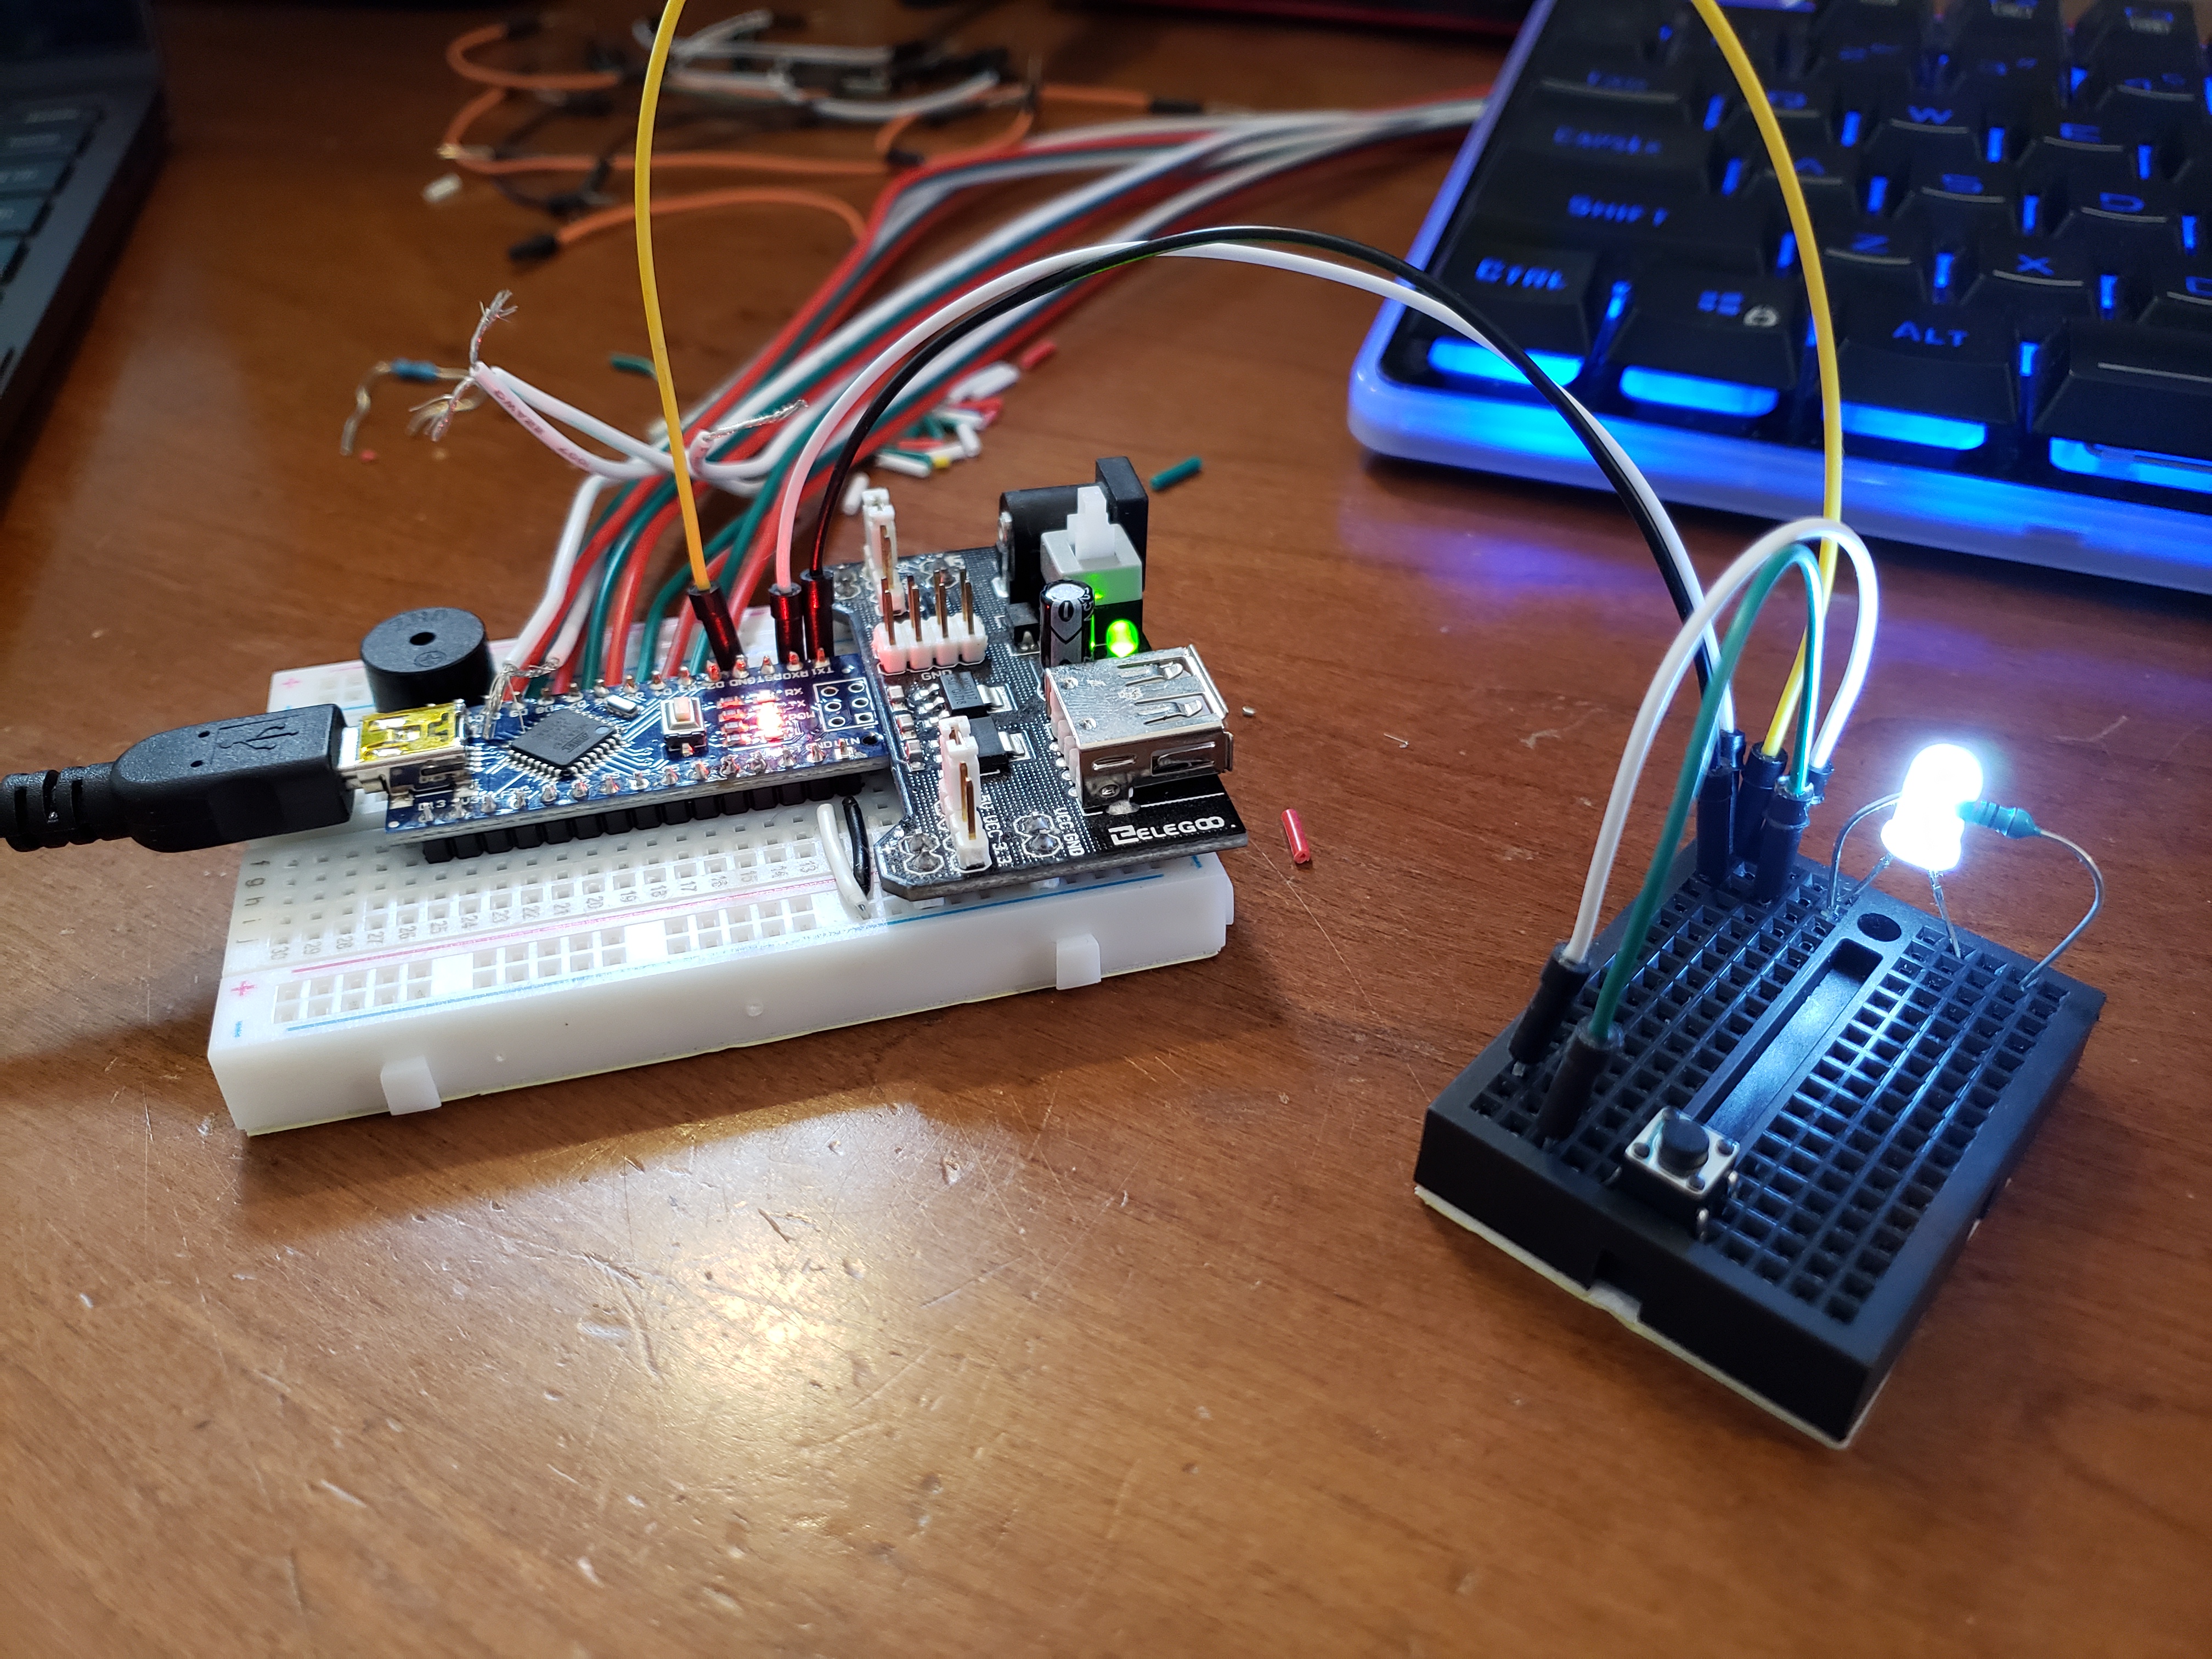
Here's a video briefly showing them in action:
Ingredients Used:
- The “Host:”
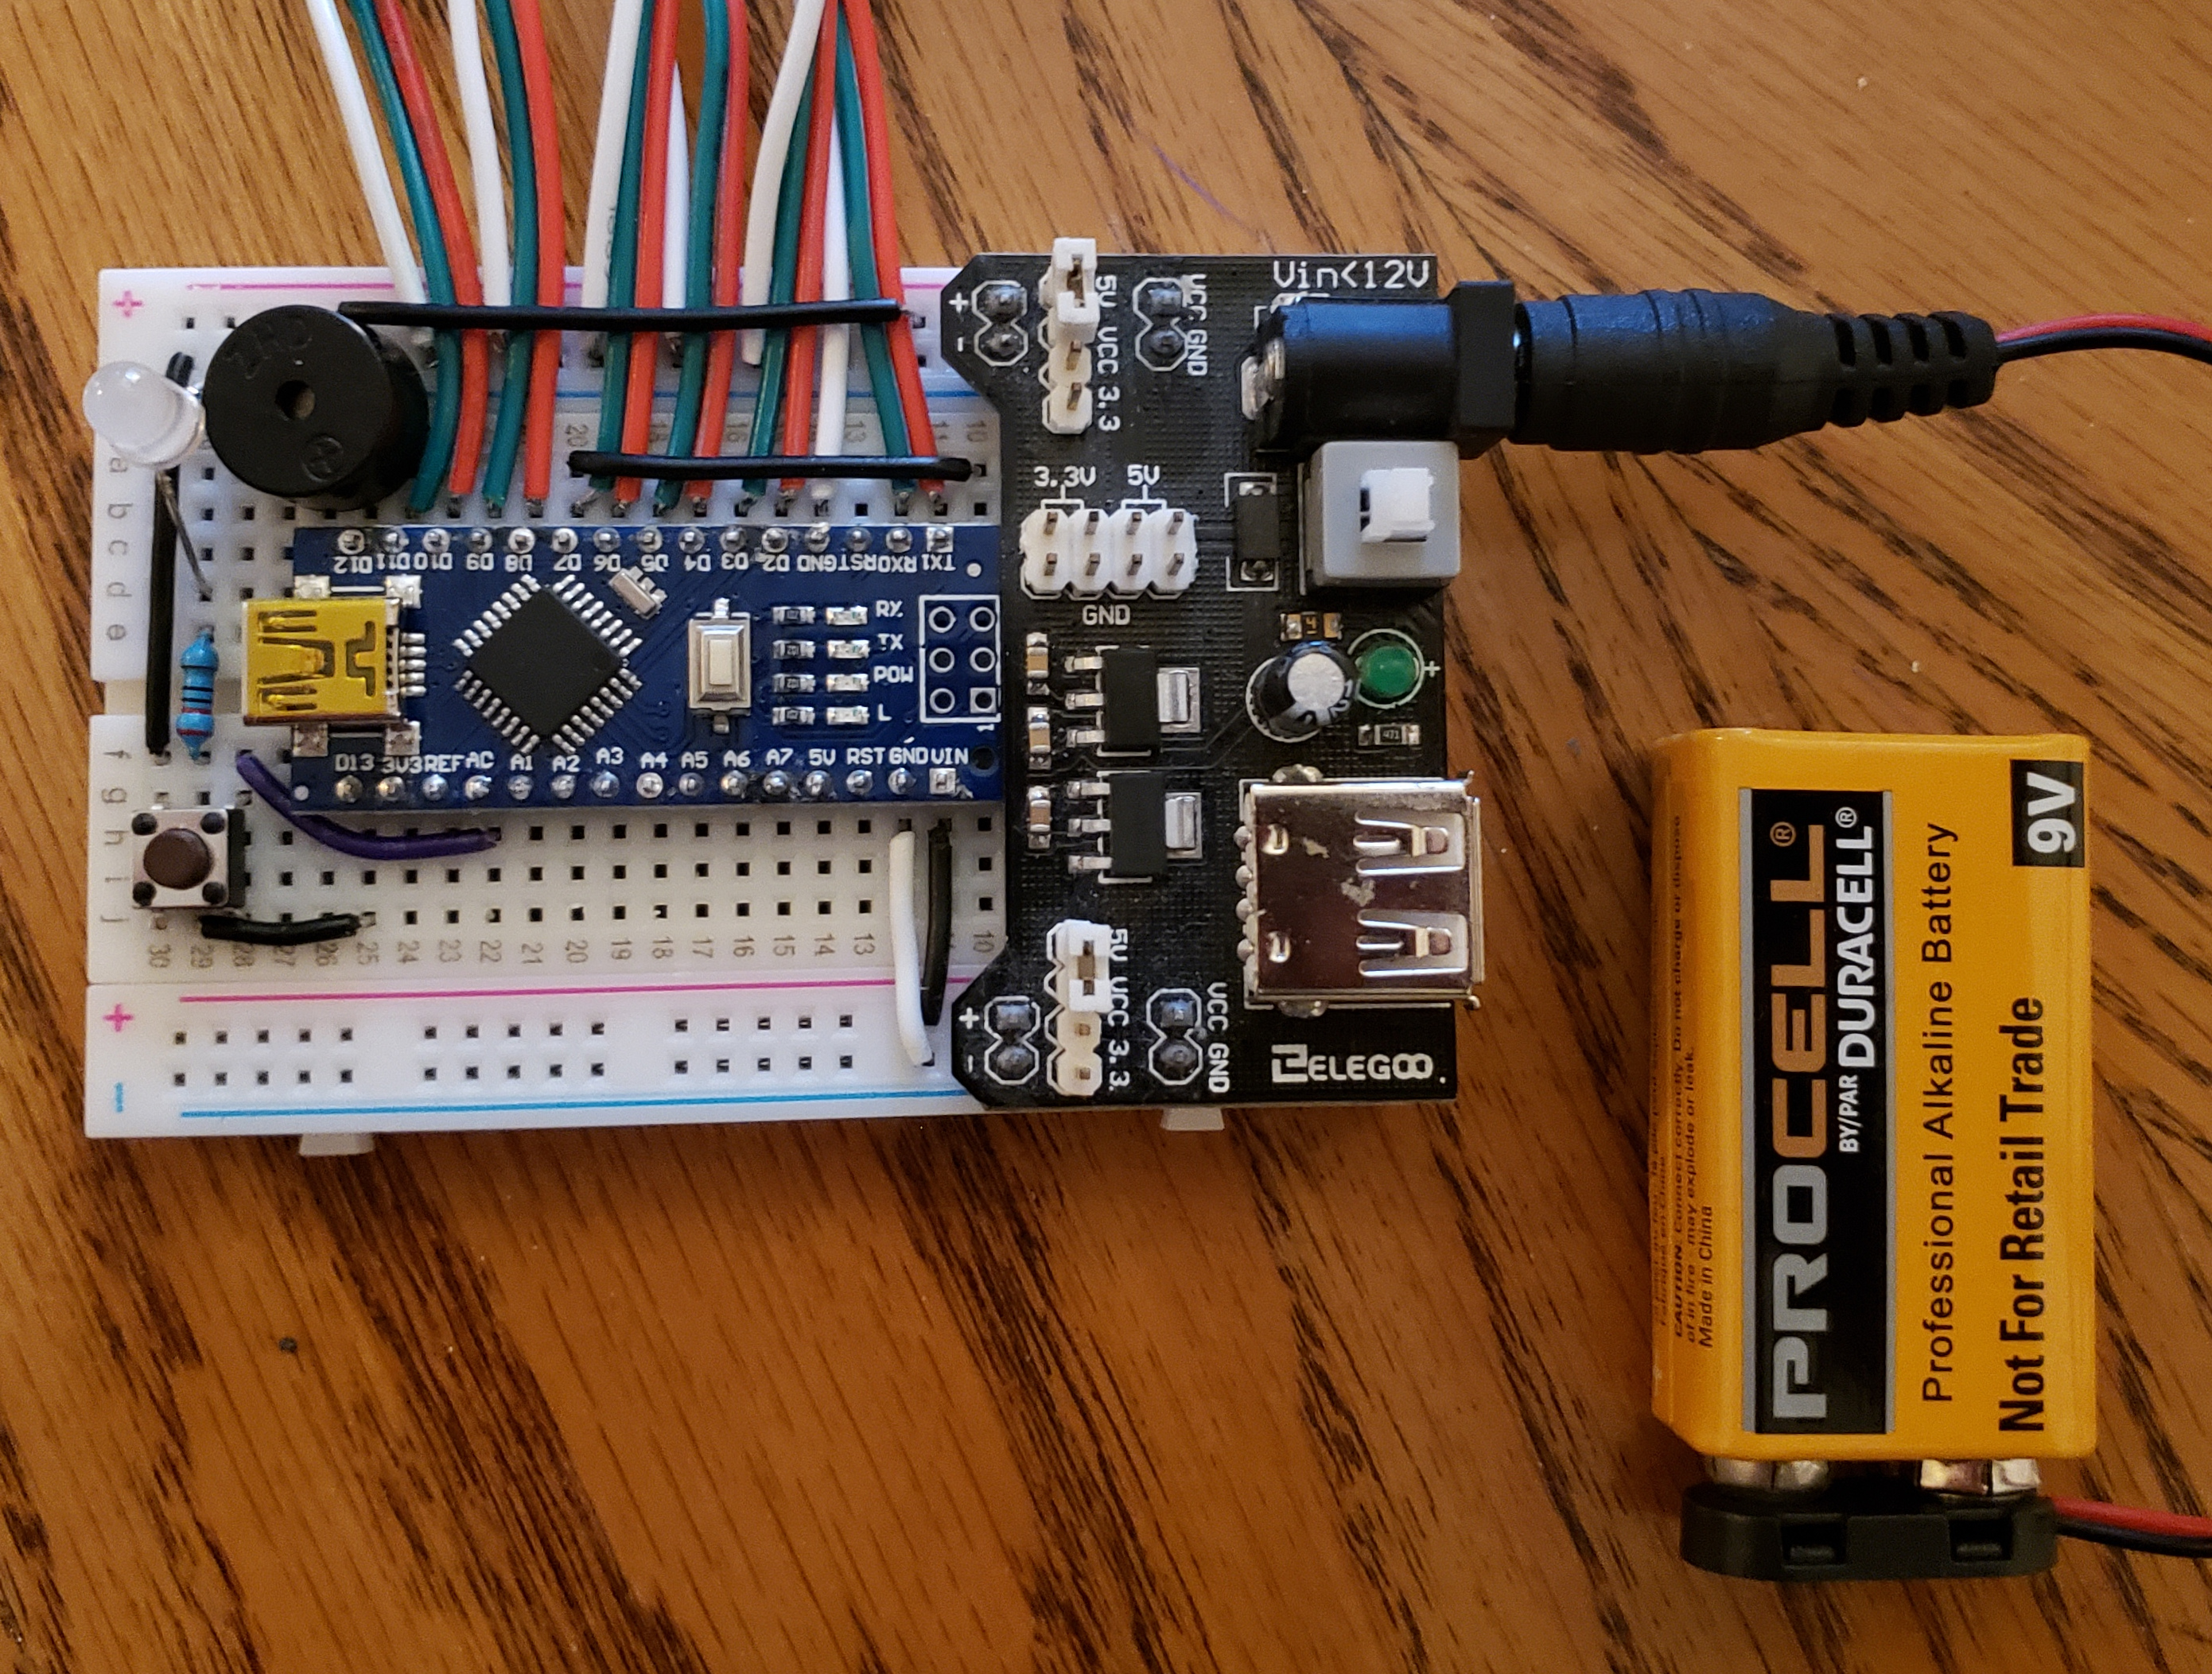
- Arduino Nano
- Breadboard
- Power supply module thing & 9V battery for power
- Lil' active buzzer
- LED & 220Ω resistor
- 22AWG Solid Wire
- Button (for resetting)
- The “Button Modules” (1 of each of these per button module):
- 3 pin 22AWG cable
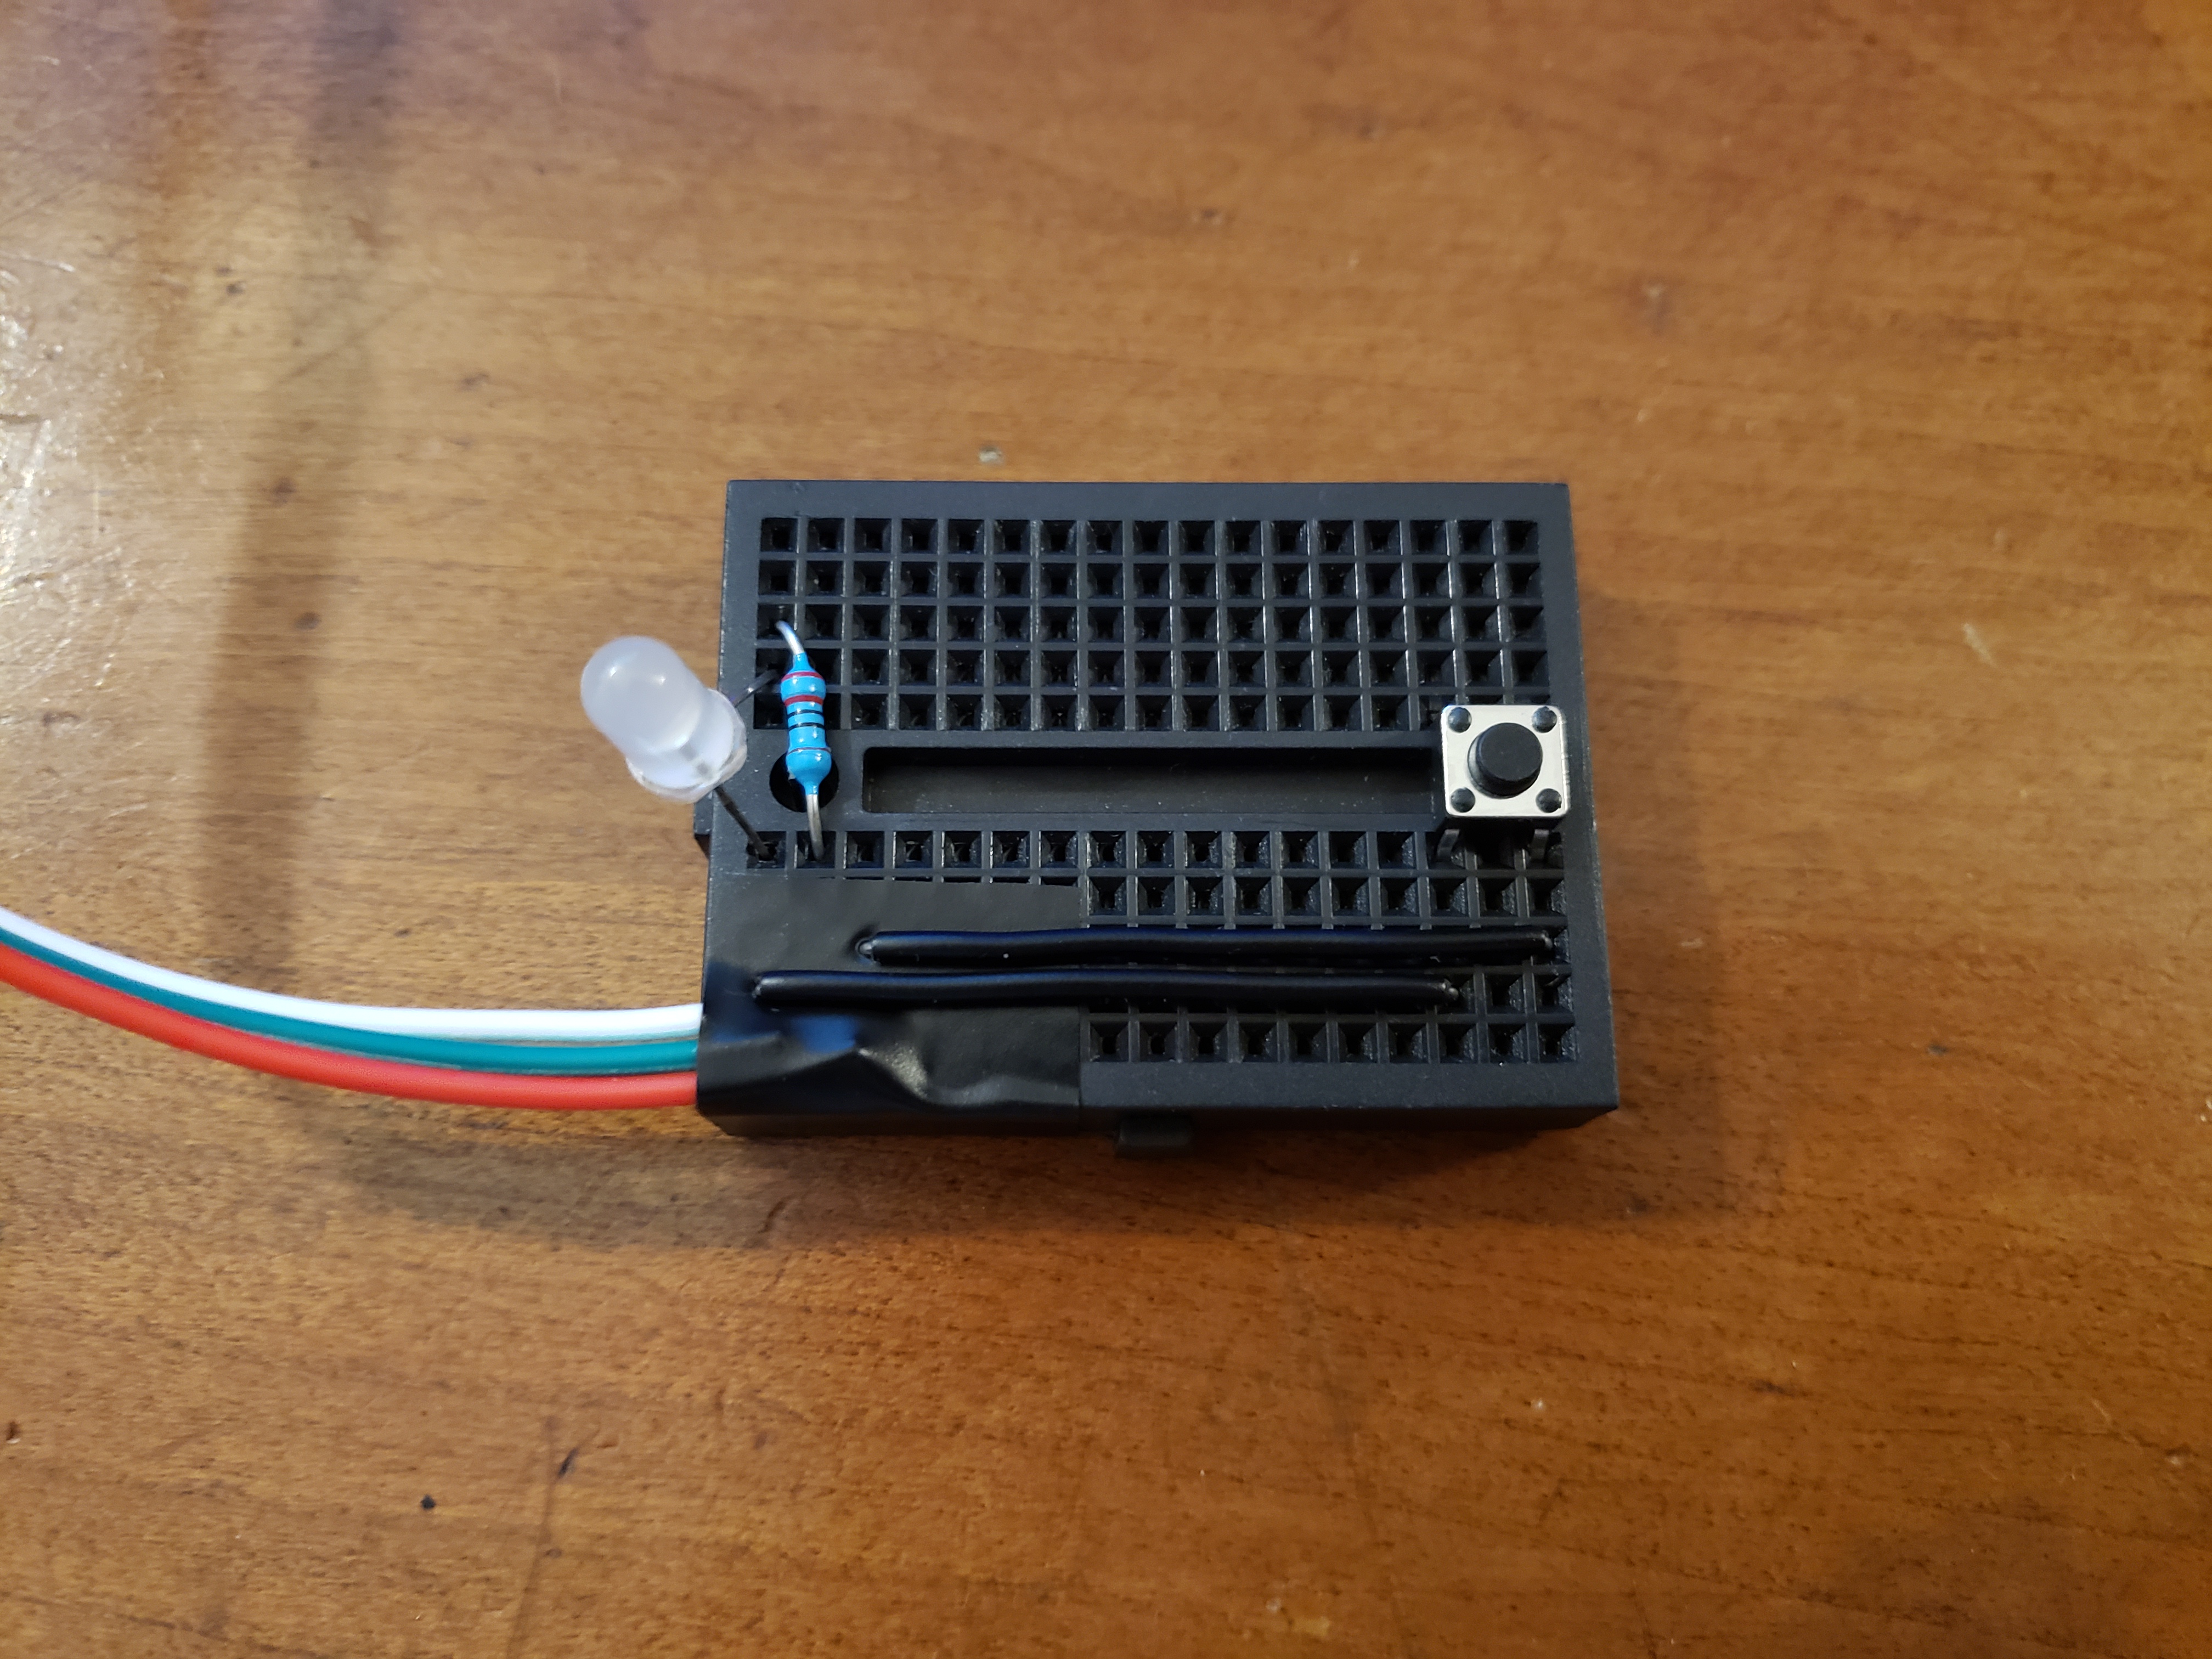
- Cute lil’ baby breadboard
- Button
- LED & 220Ω resistor
- 22AWG Solid Wire (the more colors the better)
- Electrical tape
- Tools such as wire strippers and hands
The only thing I bought specifically for this project was the cable to connect the buttons from farther away. I did ~3.5ft for each, which was just enough to make it work with 6 people gathered around. A bit more probably would have been better. I’m not sure exactly what the length limit would be, at which point the resistance would start to become too much.
The Build
I got the basic logic working with a few buttons first, and then started constructing the actual “modules.” Shoving the stranded wires into the breadboards was obviously pretty delicate, which is why I taped them down and tried to pin the tape with some of the solid wire. Good enough! The 3 pins are button input, LED output, and ground.


I am real happy with how cleanly the “host” board came together. I once again tried to use the solid wire to hold the cables in place, which I’m not sure really did all that much, but whatever it held up! I used the 9V for power so that the whole thing could work untethered.


The Code
What do you know, I have a GitHub profile now! Here is the Arduino code if you wanna look.
The logic is very simple, as you probably guessed. Once ready, the indicator light on the host turns on to show that it’s ready to receive a button press. Whoever presses their button first will have their LED light up, and the buzzer will go off for as long as they hold down the button. The indicator light also turns off. Then, you can push the button on the host to reset, which will be shown by flashing everyone’s LEDs and then turning the indicator light back on. Flashing all the LEDs during reset is also a good way to confirm that everybody’s modules are still working. At first I just used the Arduino's built-in reset button, but it takes a second or two, which is why I decided to add and code my own to make resetting almost instantaneous.
Can You Tie?
I actually put a bit of thought into this. Since the way it checks for button presses is by sweeping through each button input one at a time, it is theoretically possible that, for example, button 2 could get pressed right after it was checked and read as a non-press. Then, button 4 gets pressed after button 2, but before being read in the same sweep, and thus it would appear that it has been pushed first.
For this reason, once a button press is read, it does one final sweep through all the other buttons. So after reading button 4 as pressed, it would sweep buttons 5-6 then 1-3, and read that button 2 is also pressed. Since it can’t actually know which one came first, it is counted as a tie.
I never managed to produce a tie, though, because the sweeps happen incredibly quickly. Despite the theoretical possibility, I’m not sure if it would realistically ever happen. I am aware of how unnecessary it was to think through this, but I enjoyed doing it. That is one of my favorite things about playing with Arduino, I think, is how quickly and easily you can get into some really low-level thinking.
Conclusion

This was honestly the ideal solution. Using phones or some web app, or improvising in some other way, would’ve been fine, but I like the physical buttons and immediate feedback that this provided. And there was no set up required (except for me having to make them, lmao)! And I didn’t look very hard, but the only other solutions like this that I could find to buy online, with physical buttons you can press, were like $50+ for some reason (the ones that actually tell you who buzzed first, at least).
So yeah! Not that this is groundbreaking in any way, but I figured I might as well document it here to get more stuff on my creations page. You can use Arduinos for so many things!!!
That's all.
